Configuring a custom VPC
In the previous article, we learned what VPC is, how does it work and what are its benefits. AWS provides a pre-configured to launch our instances, however, the best practice is to create your own custom VPC per your requirements and organization’s network and security policies and launch your instances in the custom VPC. In this article, we will discuss how to configure your own custom VPC.
Leaving services running in cloud computing can escalate your bill quickly, hence, it is equally important to understand how to delete the resources once you are done using it. We will also see how to delete the VPC and related resources.
Steps to configure VPC
- Go to AWS services from the dashboard in that Network & Content delivery select VPC.
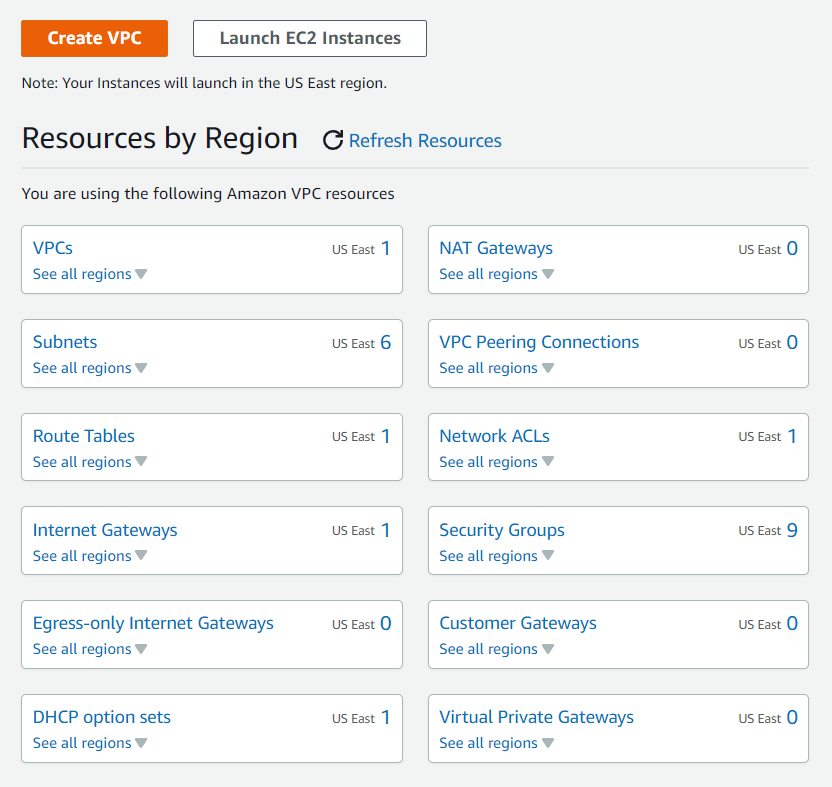
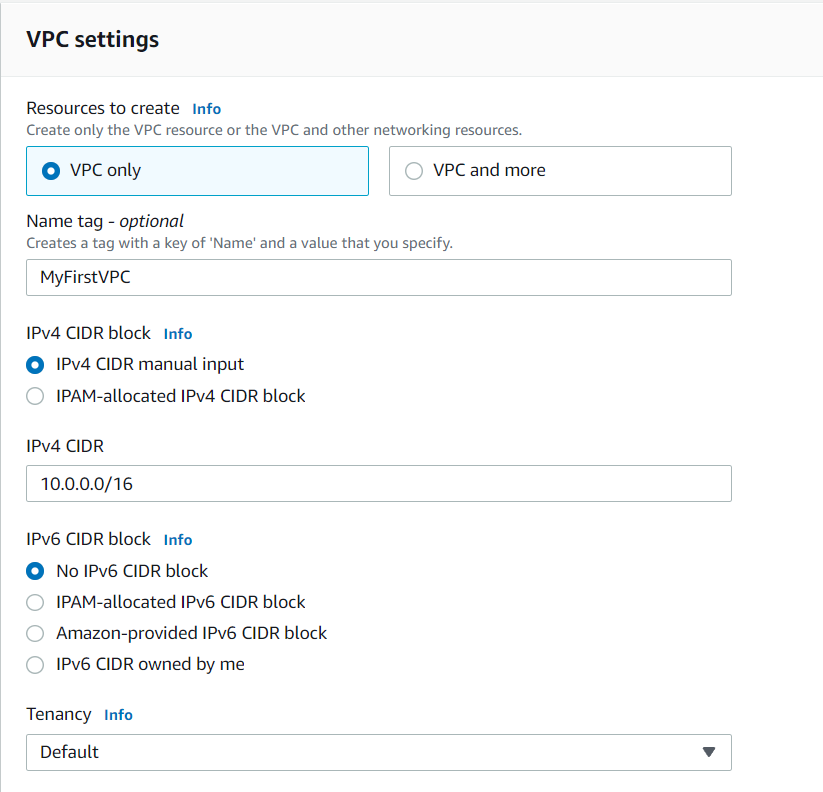
- Create a VPC. Every VPC has one default VPC. Note: do not delete the default VPC. Here i have given the name as MyFirstVPC with the CIDR value as 10.0.0.0/16. You can choose any CIDR value of your choice between 10.0.0.0/16 - 10.0.0.0/28.
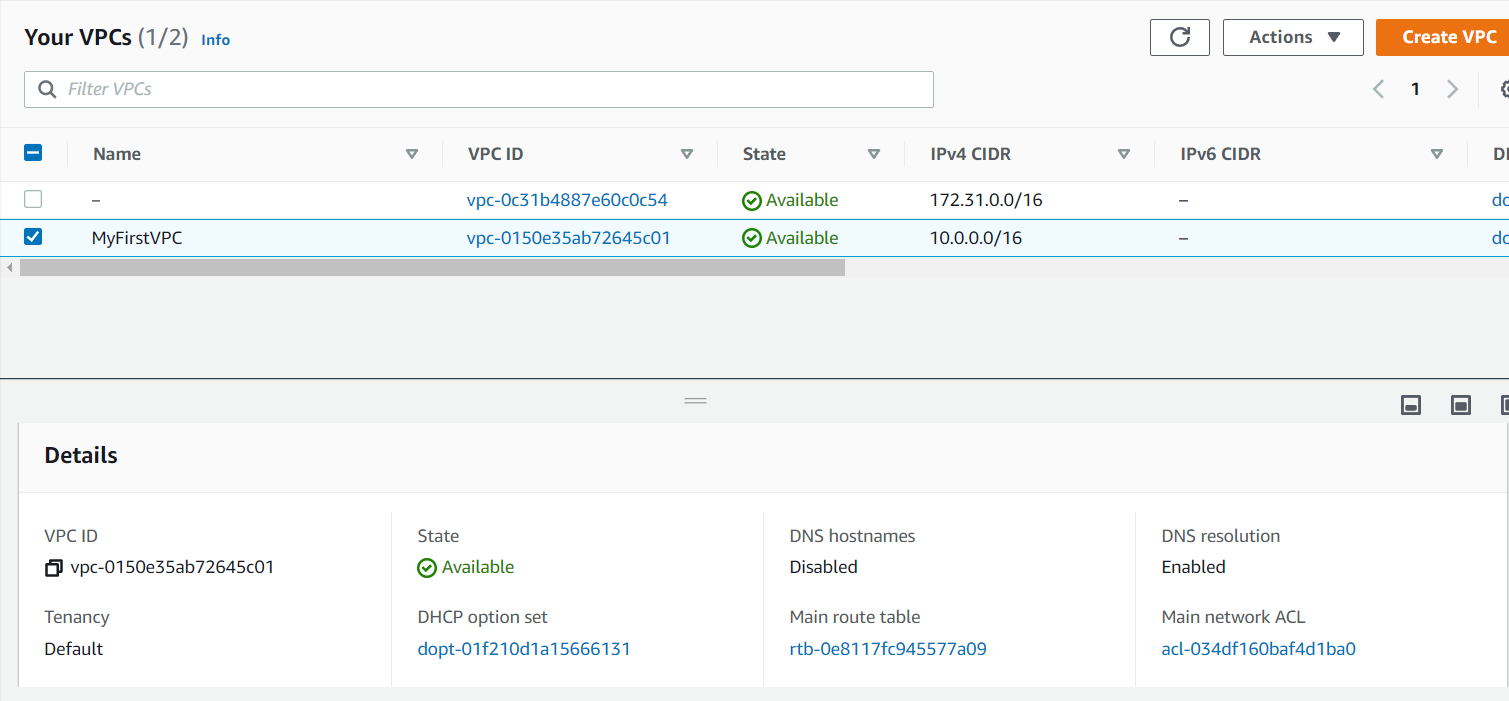
- Now VPC is created successfully.
-
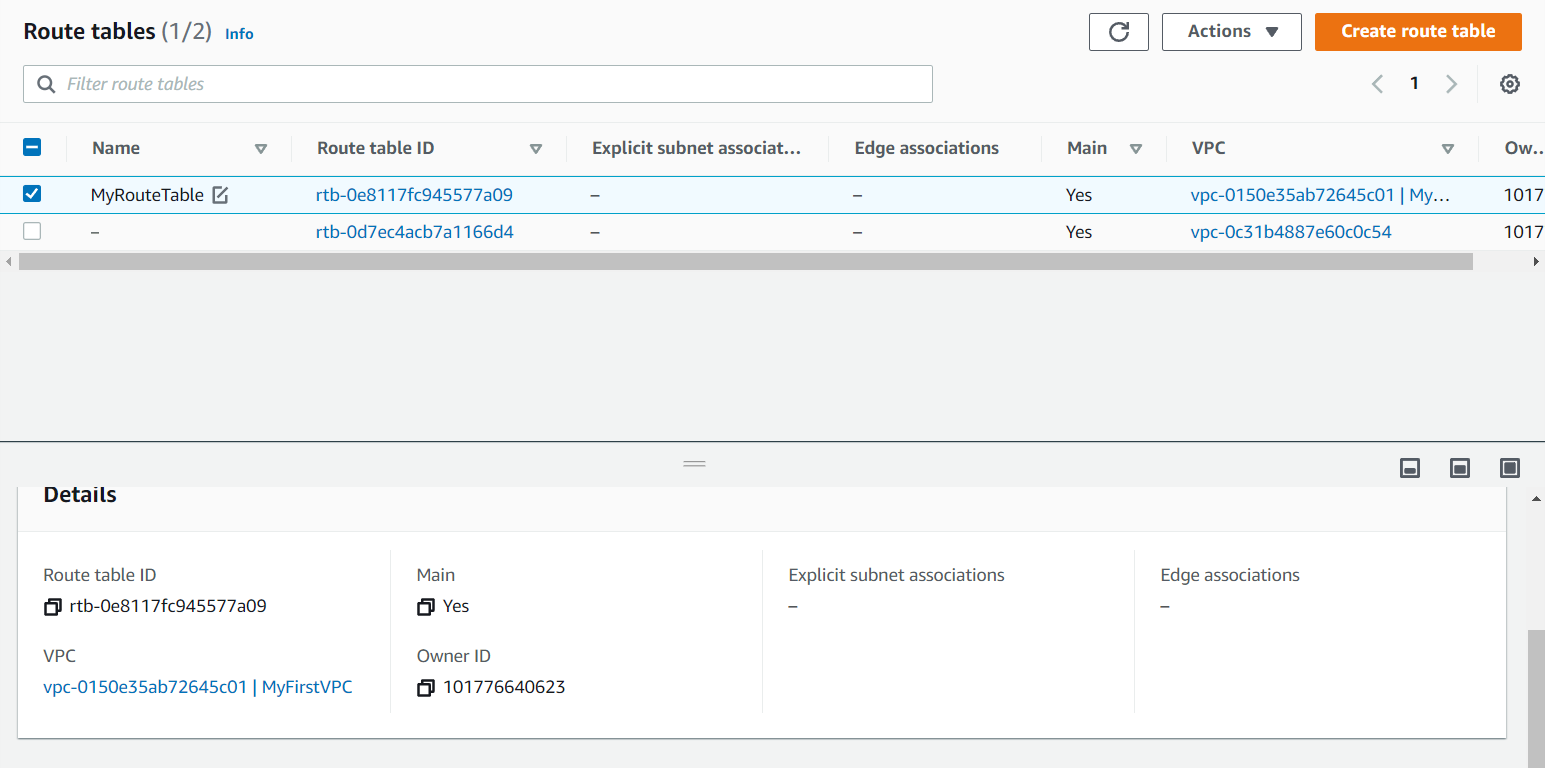
Now if you will go the Route Tables on the left side of the dashboard you will see our default route table is been created. To confirm which one is our Route table check the VPC ID. You can give the name to it after confirming. I have given it as MyRouteTable.

-
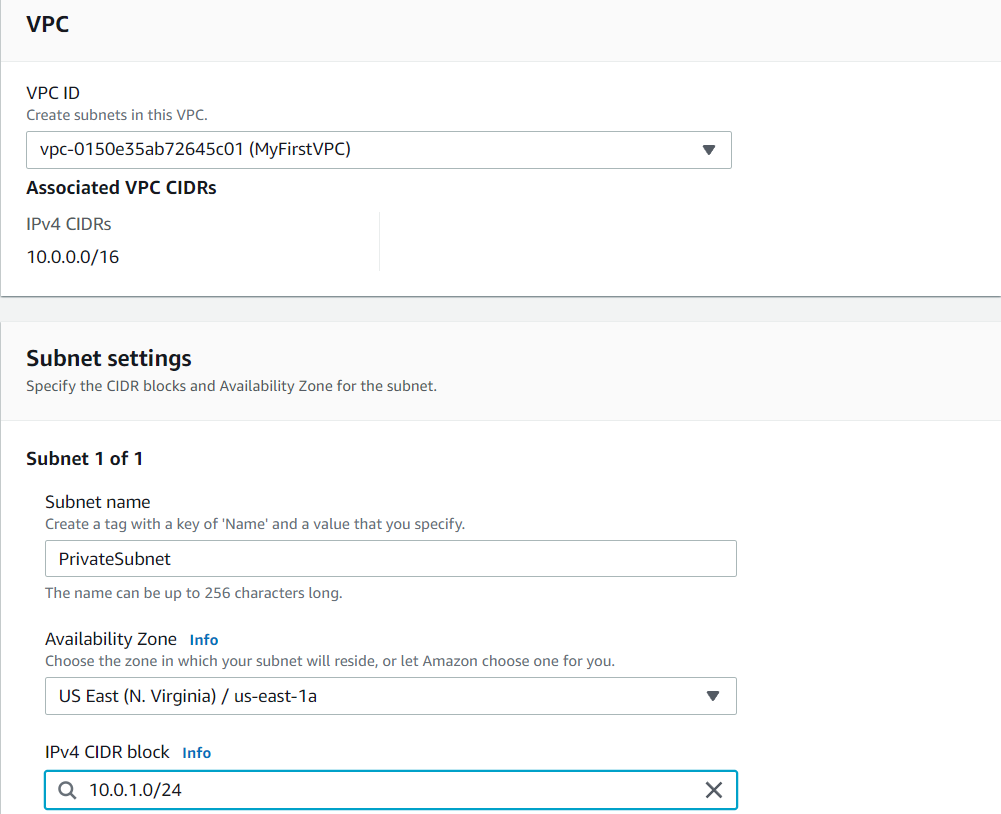
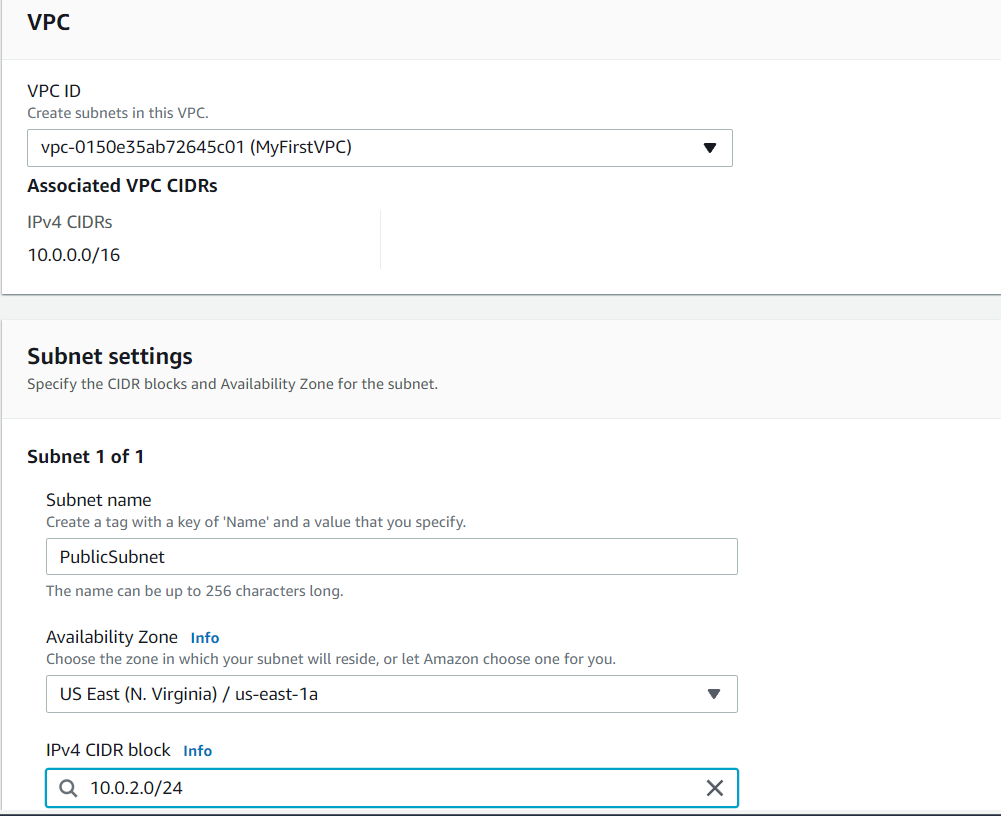
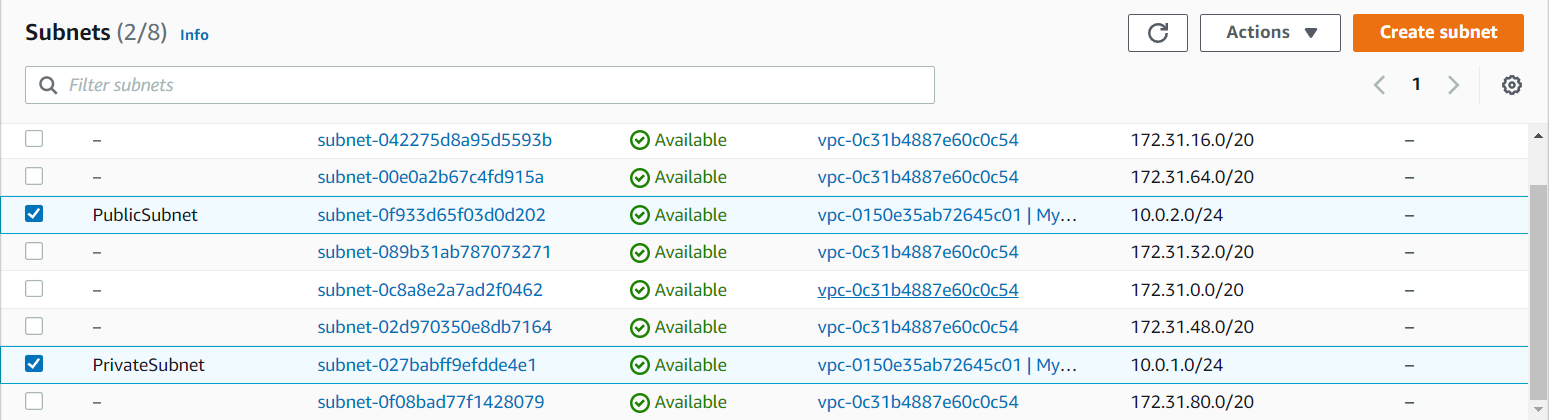
Inside our VPC we are going to create our subnets i.e. public subnet and private subnet.
Give the name as PublicSubnet and PrivateSubnet and the VPC can be chosen from the VPC that you have created. Here i have created it as MyFirstVPC. Availability zone can be chosen any of your choice. CIDR block should be chosen according to the IP range that you have given. Here i give it as 10.0.1.0/24 for PrivateSubnet and 10.0.2.0/24 for PublicSubnet.
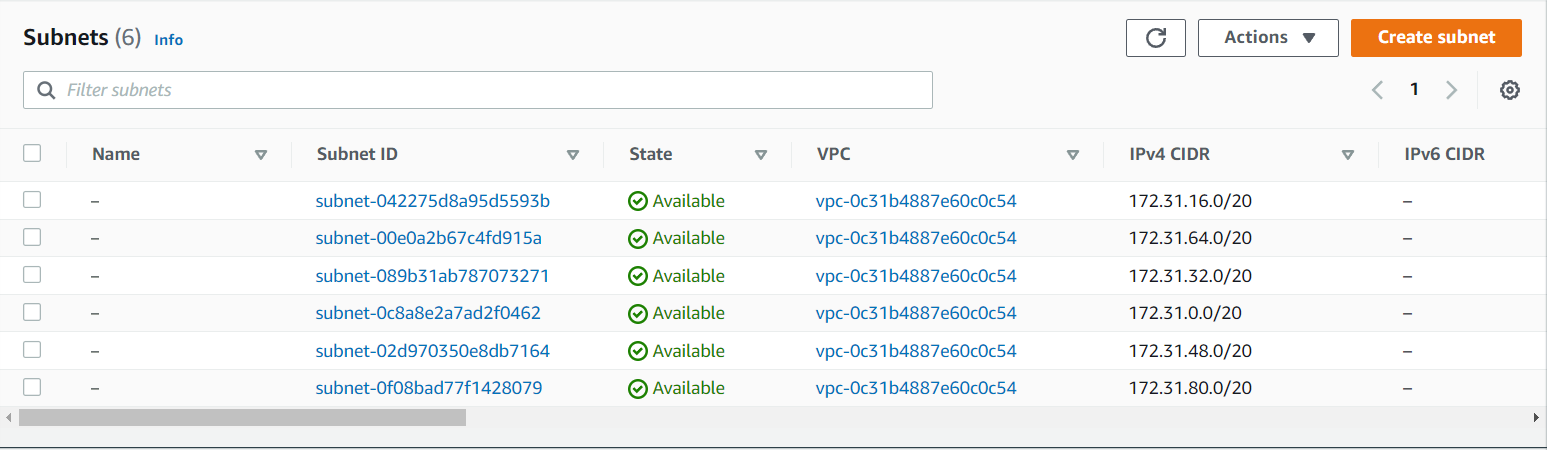
- Now the subnets are been created successfully.
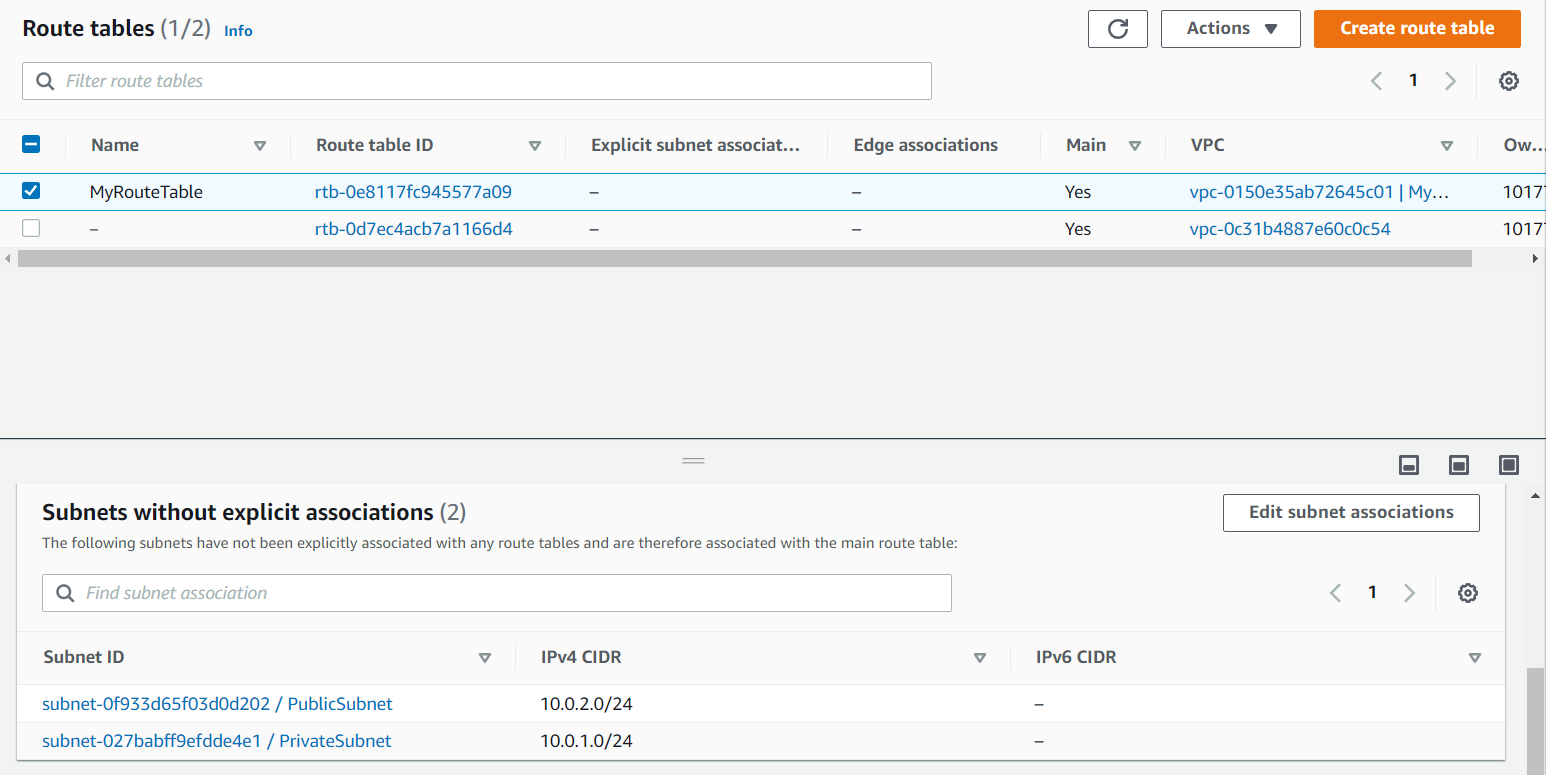
- As we know all the new entries of the subnets will enter into our default Route table. Go to the Route table in that select Subnet Associates you will see your subnets. Note: Here we don’t have separate Route table all will enter into our default Route table.
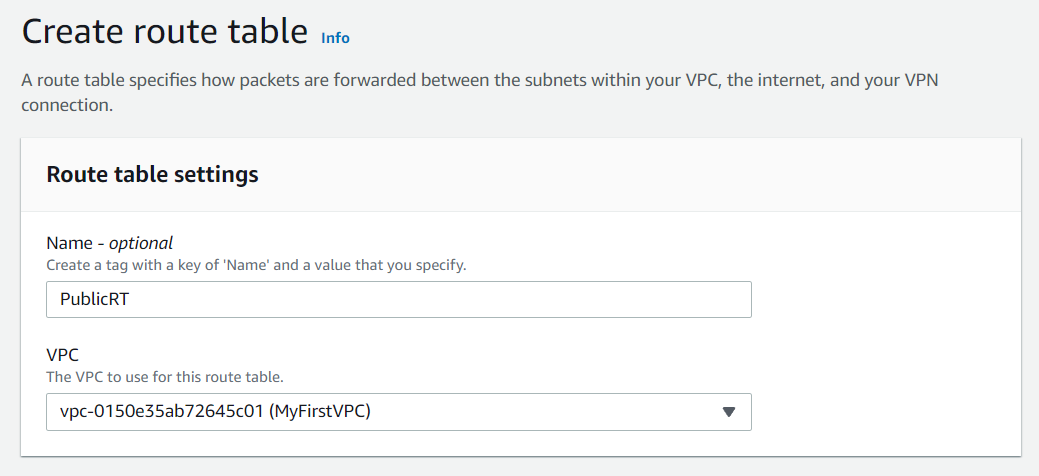
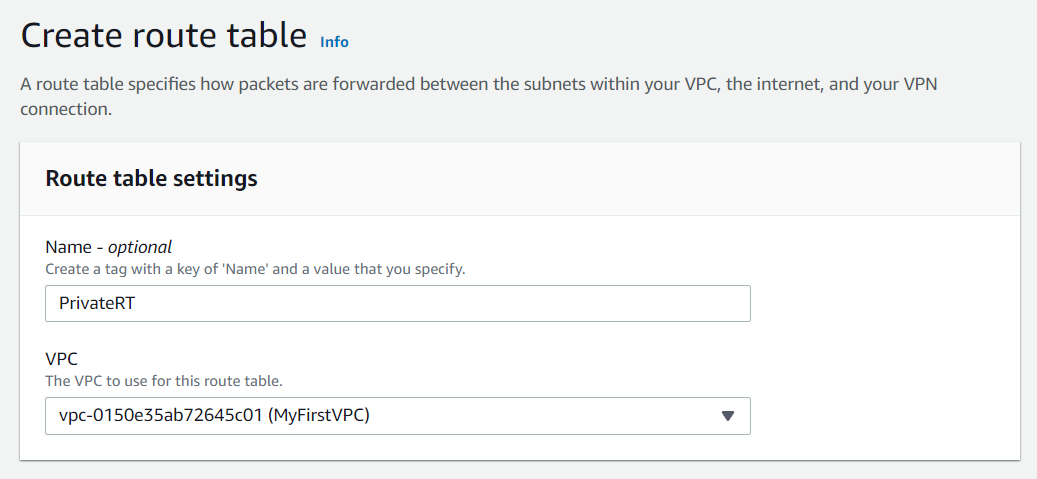
- Now we will create separate Route table in our VPC i.e. Public Route table with the name PublicRT and Private Route table with the name PrivateRT. You can give the name of your choice.
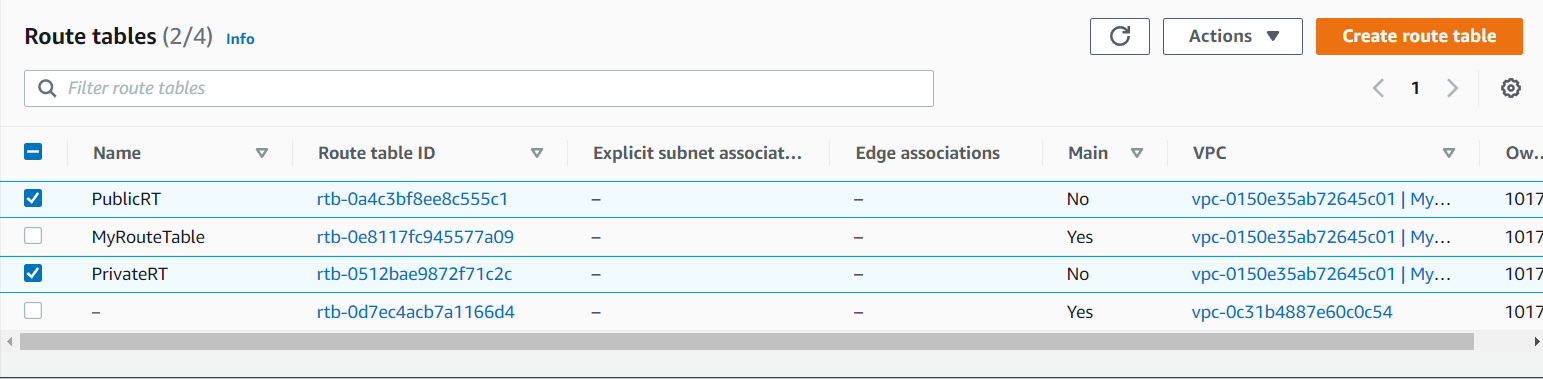
- Now by default all my subnets are into the default Route table, now we will put our subnets into their respective Route table i.e. PublicSubnet will go to PublicRT and PrivateSubnet will go to PrivateRT.
Note: we will not have any duplicate records i.e. 1 subnet can have any 1 Route table.
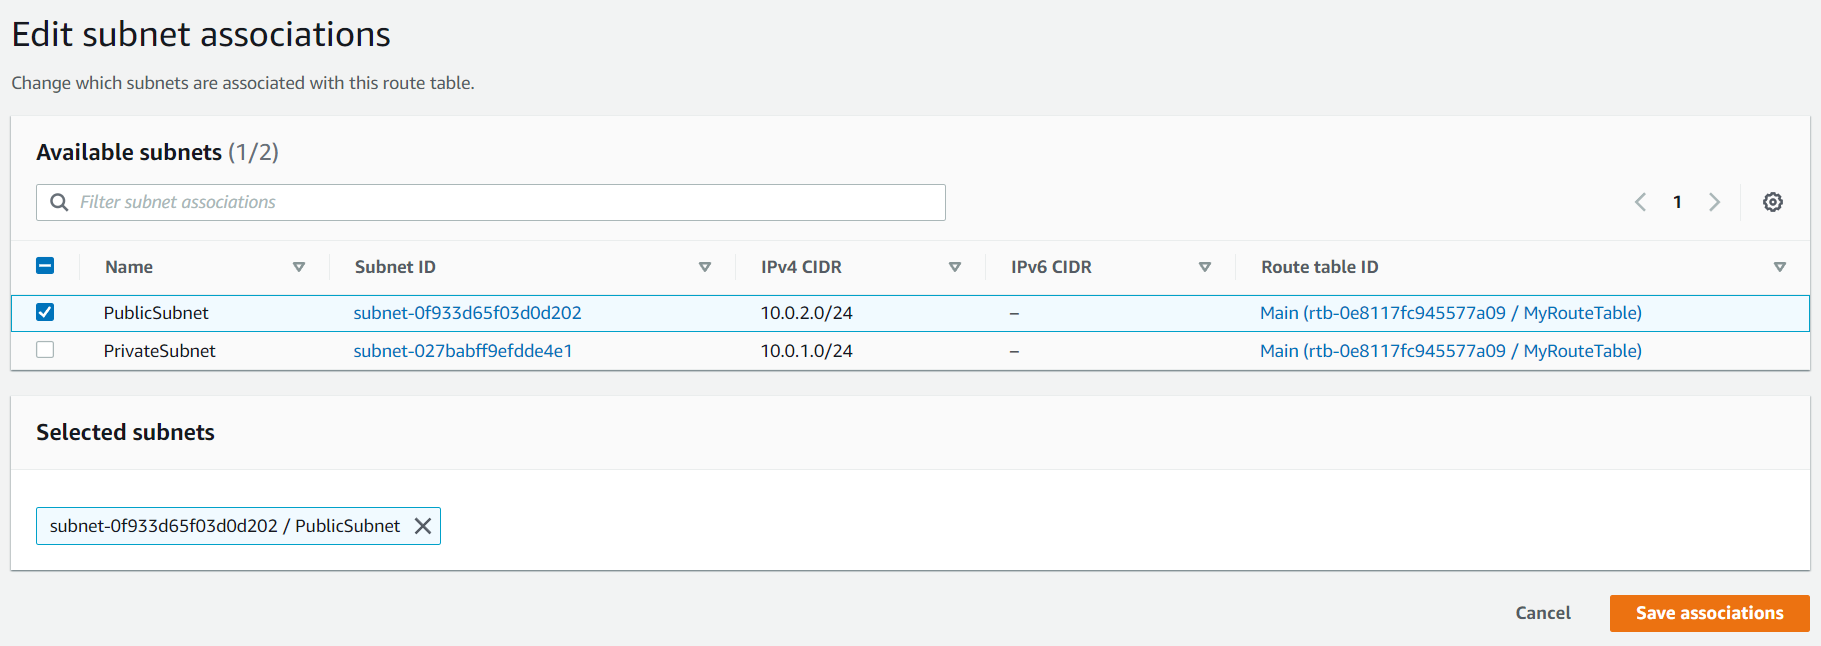
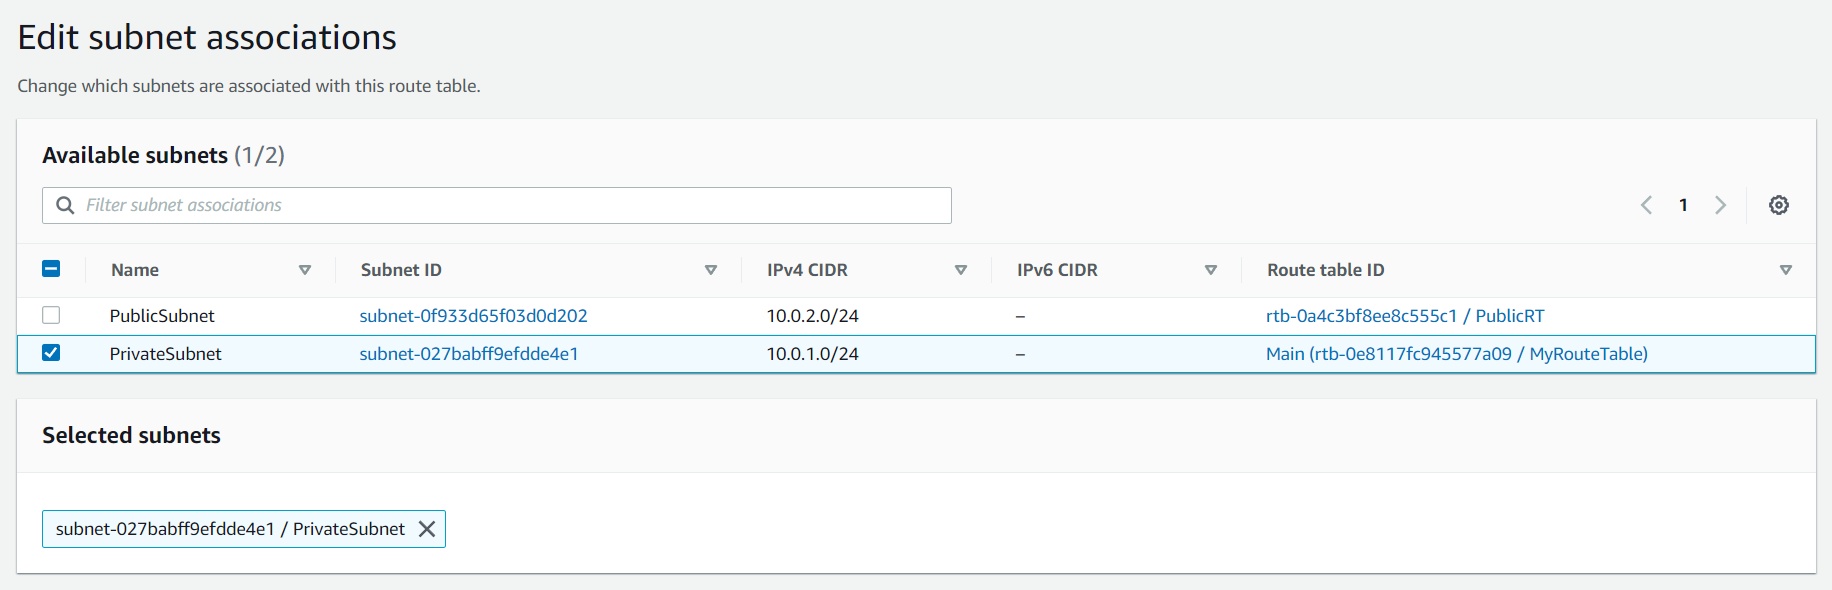
Go to PublicRT in that select Subnet Associations and select Edit subnet associations and select the PublicSubnet and save it. Do the same for PrivateRT.
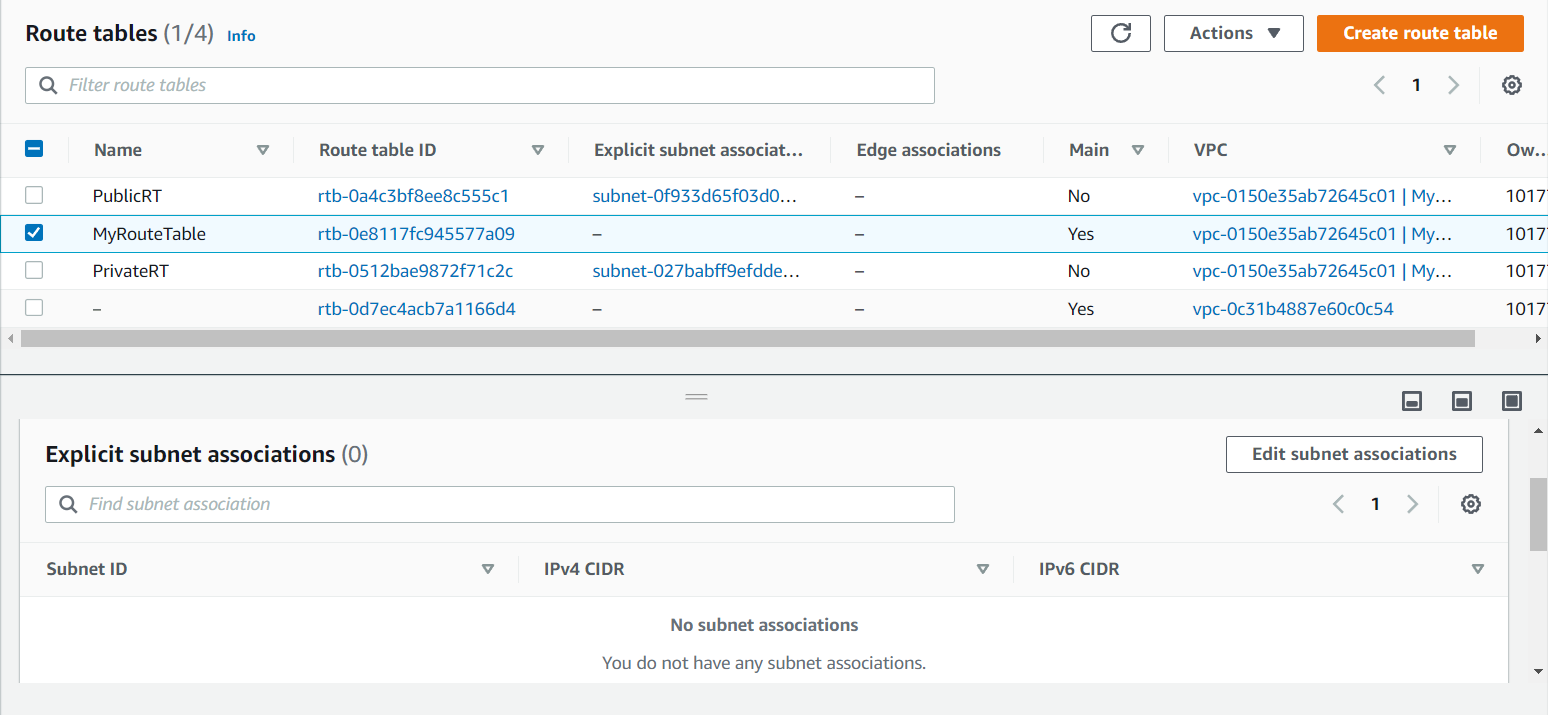
Now if you will go to the the default Route table i.e. MyRouteTable there will be no subnets.
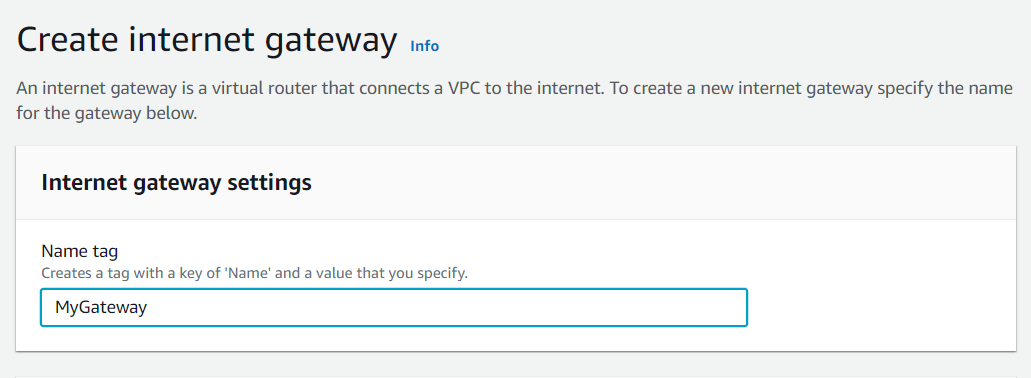
- Now we will create an Internet Gateway to connect to our VPC. Go to the Internet Gateway on the left side of the dashboard and create it. Here i gave the name as MyGateway you can give of your own choice.
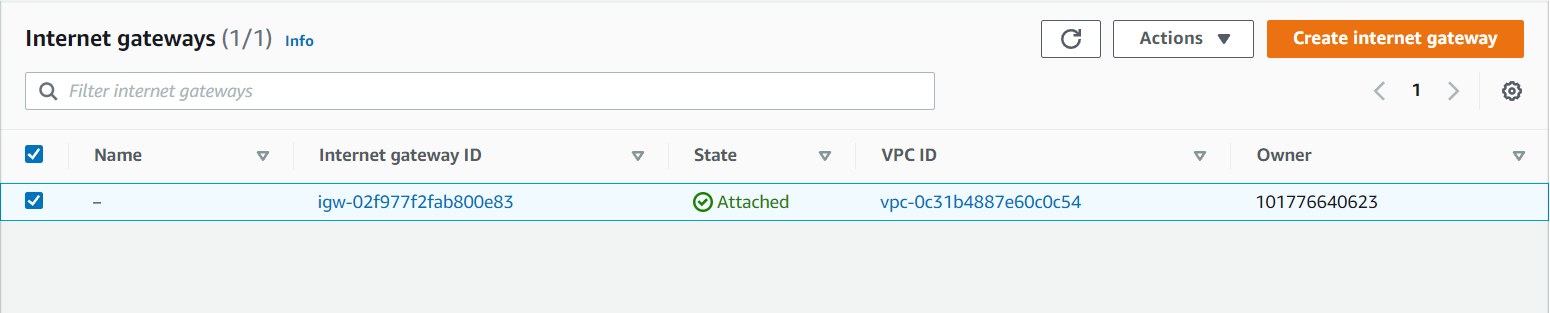
Now Internet Gateway is created successfully. Now go to Actions on the right side of your console and Attach the VPC.
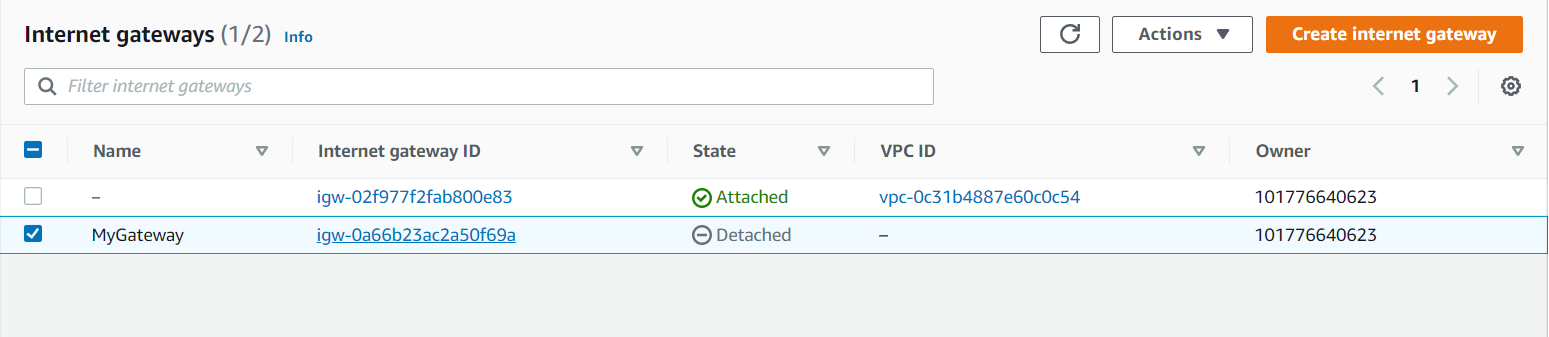
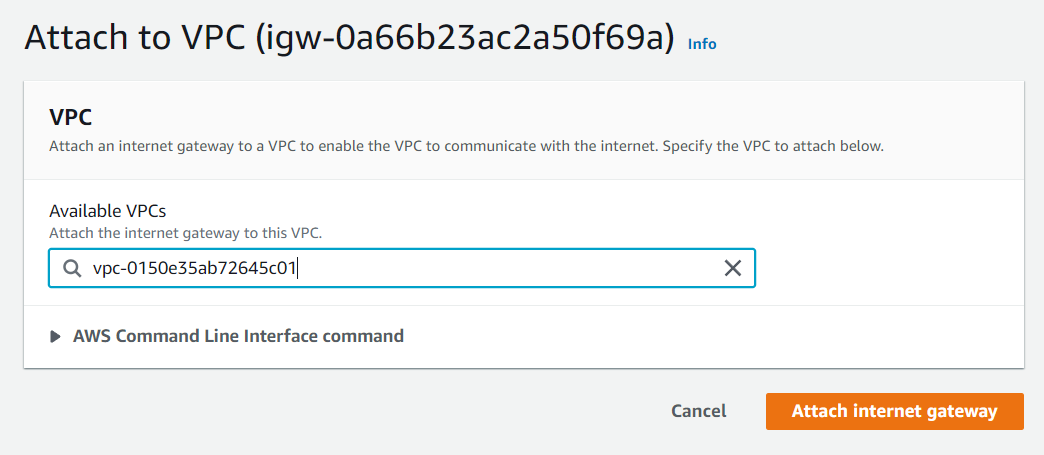
Now your Internet Gateway is attached to your VPC.
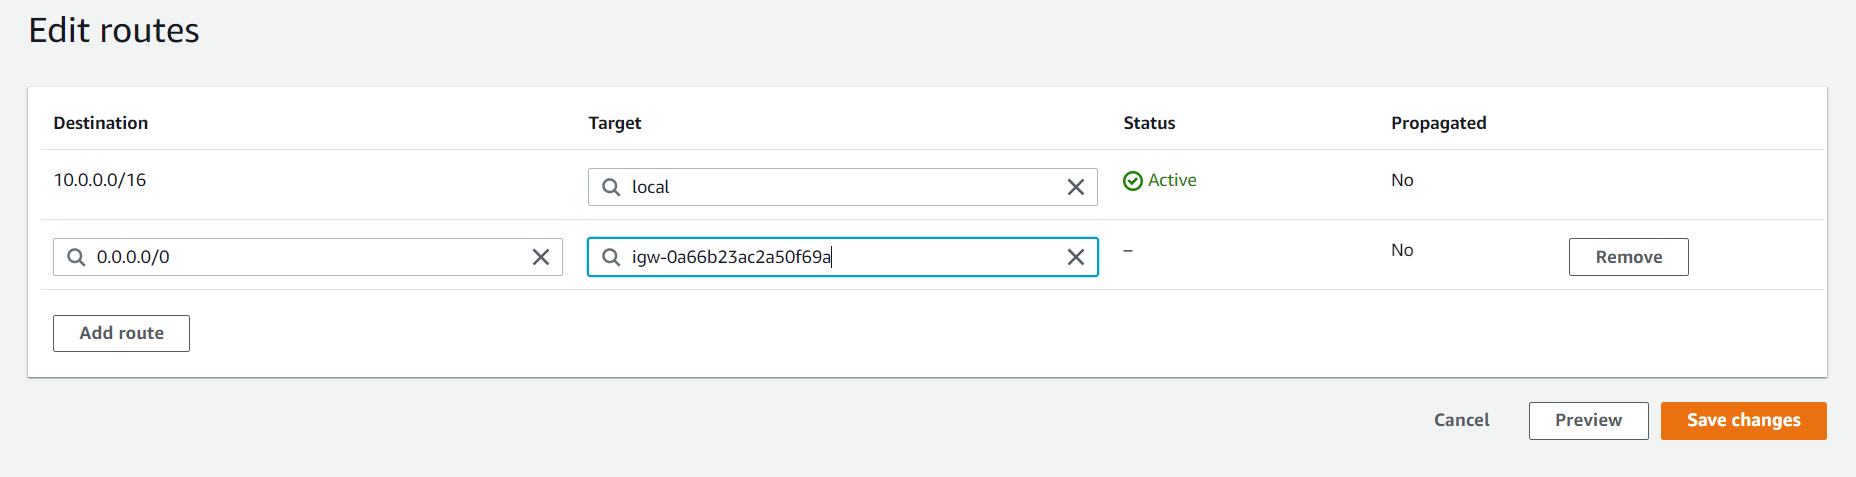
- Now will attach our Internet Gateway to our public route table which will be accessible through the internet. Now go to Route Tables in that select PublicRT and select Route and select Edit routes. Add Route and give any IP, here i give 0.0.0.0/0 i.e. from anywhere i can access my VPC.
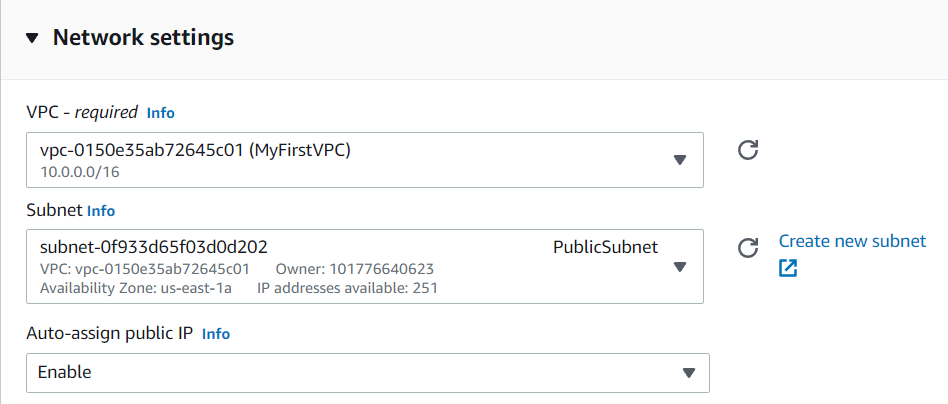
- Now we will launch our instances into our subnets. Here, we will launch EC2 instance for PublicSubnet. Go to EC2 and select any instance. After selecting go to Configure Instance and select the Network i.e. the VPC you have created. Since we had given my CIDR value as 24 i will get 251 IPs. And we will enable Public IP.
After that we will add Security Groups i.e. HTTP and HTTPS.
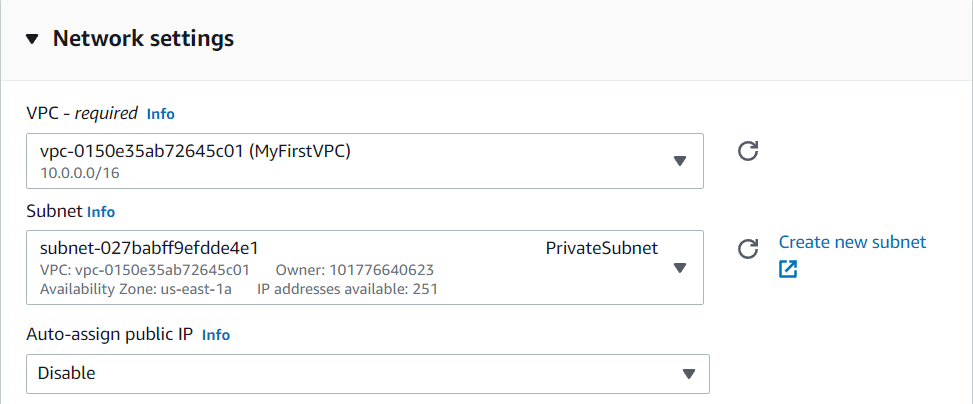
Similarly launch an EC2 instance for PrivateSubnet and the process is same only the change will in Networks, here we will select PrivateSubnet and Public IP will be disabled for this.
- Now IPs of these instances will be given the range that you had given.
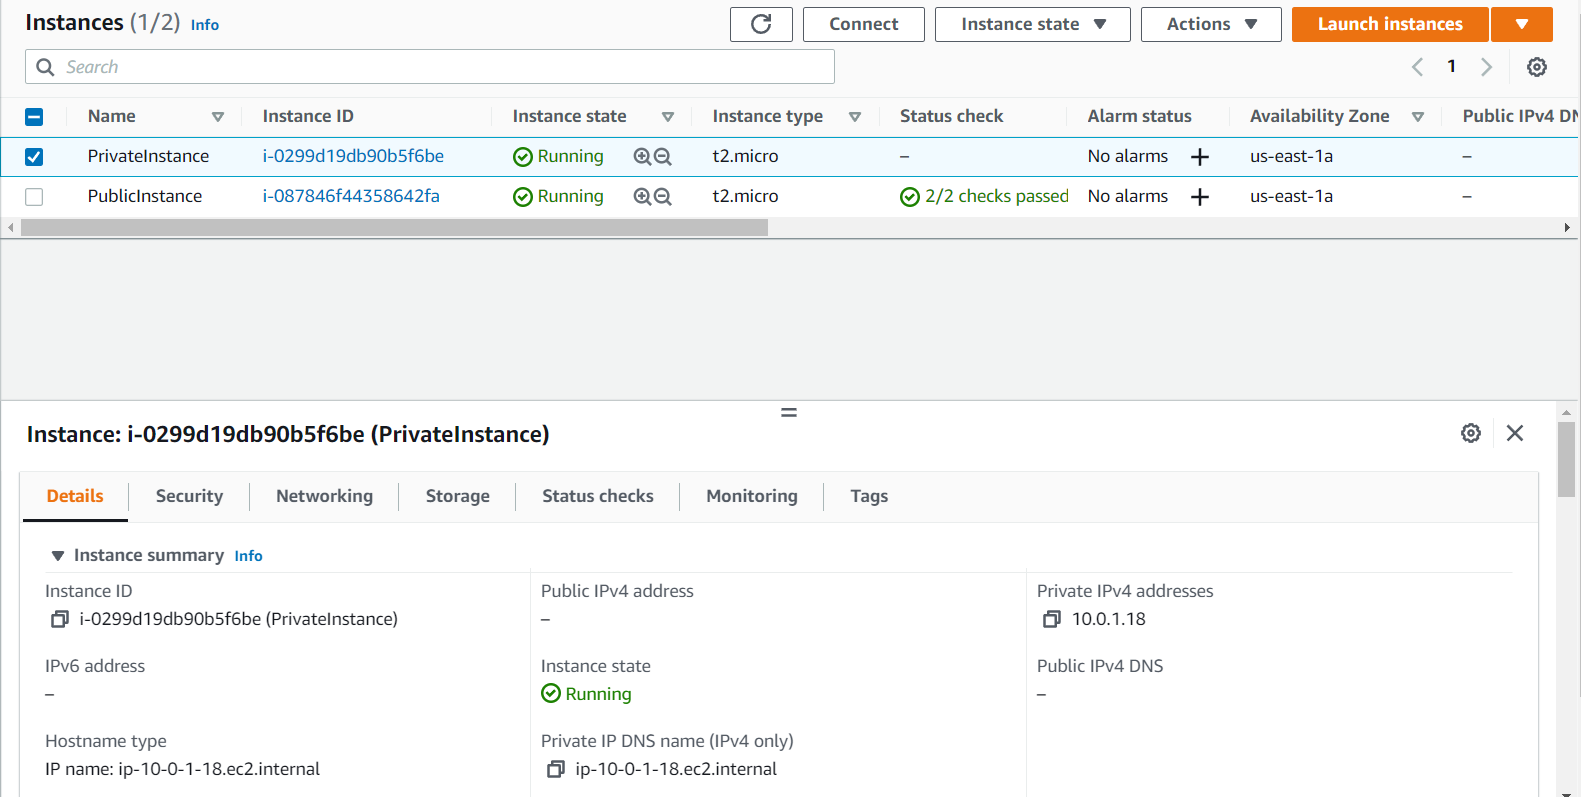
- Now go and check if my PublicInstance is accessible through the internet and similiarly we will do it for PrivateInstance. If you see that PublicInstance will have public ip wherein PrivateInstance will not have public ip which means only PublicInstance can be accessed through internet. By taking the remote access of the PublicInstance we can check if it is accessible.
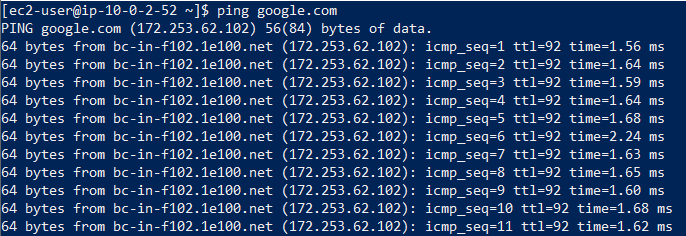
Since it is accessible, now go and remove the Internet Gateway from the PublicRT and check if it is accessible.
- PrivateInstance is not accessible through the internet. To access this you will go through the PublicInstance using NAT.
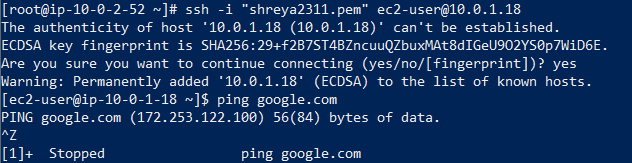
For example: In PublicInstance i will create a .pem file suppose shreya2311.pem and i will copy the key and paste it in shreya2311.pem and will give the permission chmod 400 to the pem file. Now we will try taking the remote access of PrivateInstance through ssh and ping google.com. It will not ping because from PrivateInstance you cannot access the internet.

- Go to the NAT Gateway on the left side of the dashboard and create a NAT Gateway. NAT Gateway will be launched inside PublicSubnet and will add it in a PrivateSubnet.
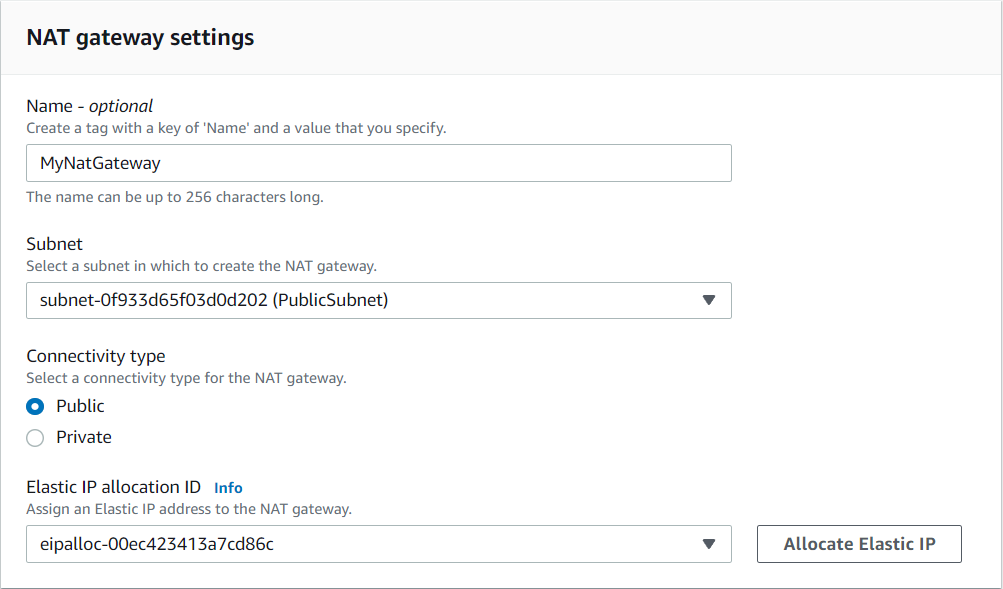
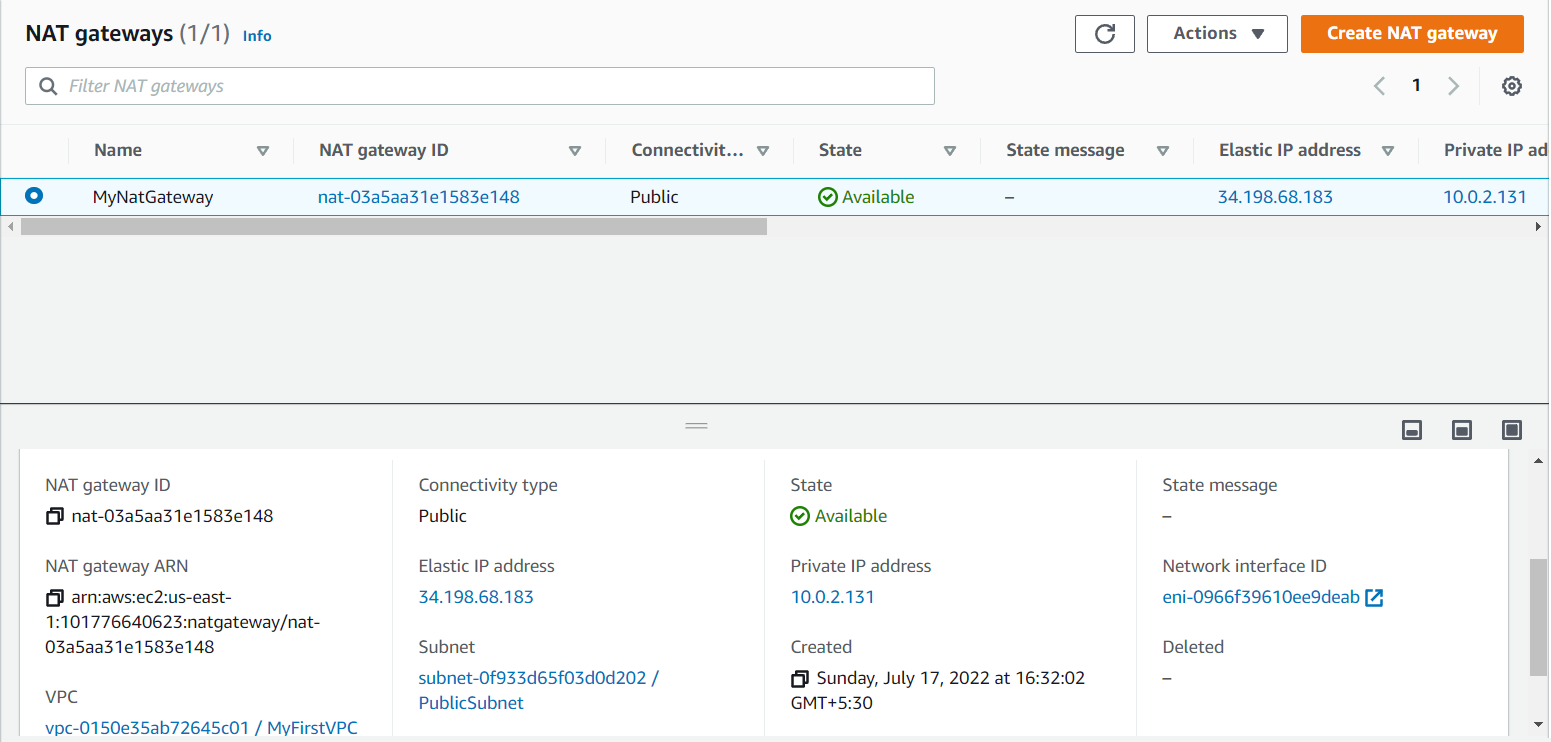
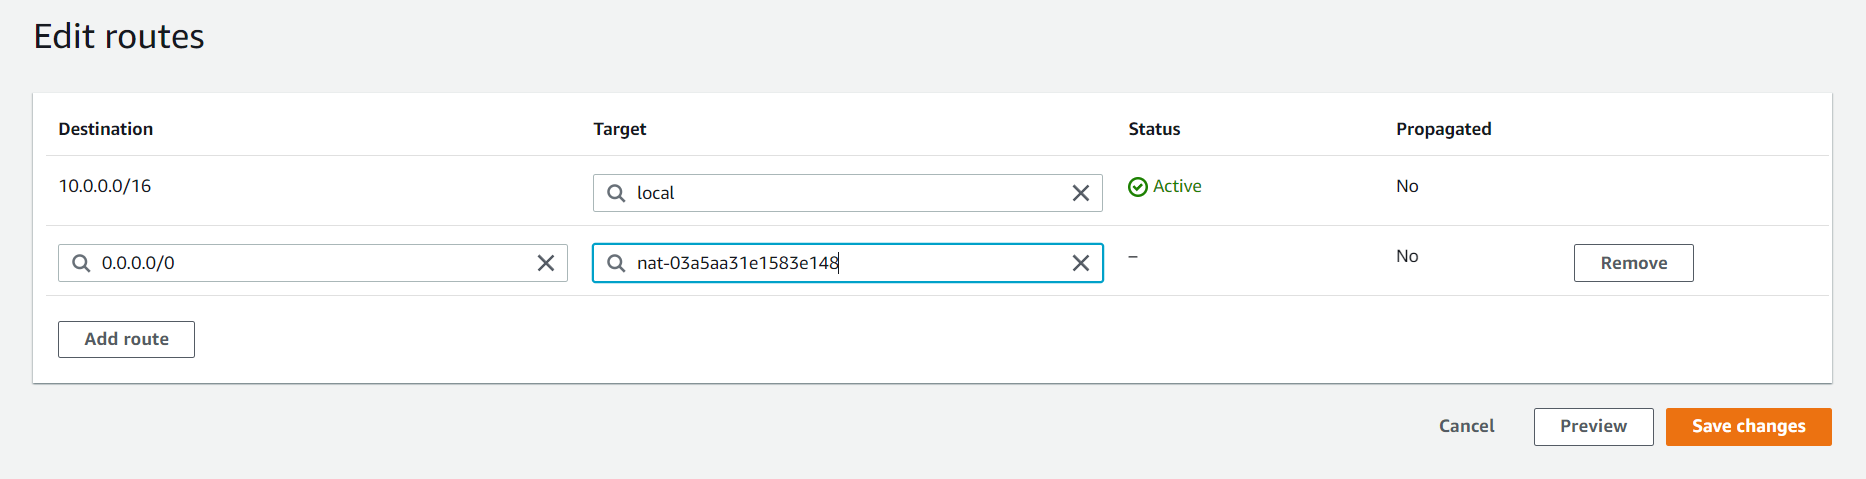
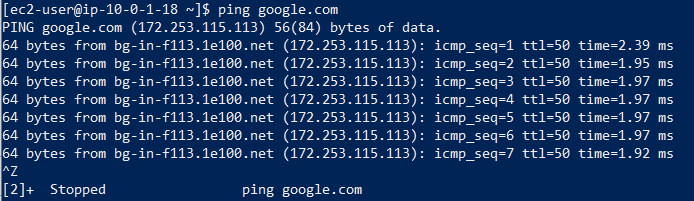
After creating go to the PrivateRT and select Route and select Edit routes and Add route and save it. Note: it will take some to create it. Once NAT Gateway is created PrivateInstance can access the internet.
Note: PrivateInstance can access the internet but internet cannot access the PrivateInstance.
Steps to delete the VPC
-
Start by terminating the instances.
-
Navigate to Route Tables and remove the entries in the Route Table by going into the Edit routes and remove the NAT Gateway and delete the subnets and then remove public and private route table.
-
Navigate to the Internet Gateway and detach it from VPC.
-
Navigate to the NAT Gateway and delete it.
-
Navigate to the Subnets and remove the entries.
-
Navigate to VPC and delete the VPC.
We hope you find this article helpful. Happy learning!👍🏻
Shreya Dhange is a Technical Training Developer at Red Hat, who likes to explore and learn new technologies and share her knowledge by writing articles. She has completed her Masters in Computer Science and has gained award for her exemplary academic performance. She has been engaged in creating and delivering content in the cloud and linux space. She can be reached out LinkedIn or via email.
Parth Goswami is an opensource enthusiasts and likes to talk about AWS and cloud computing.