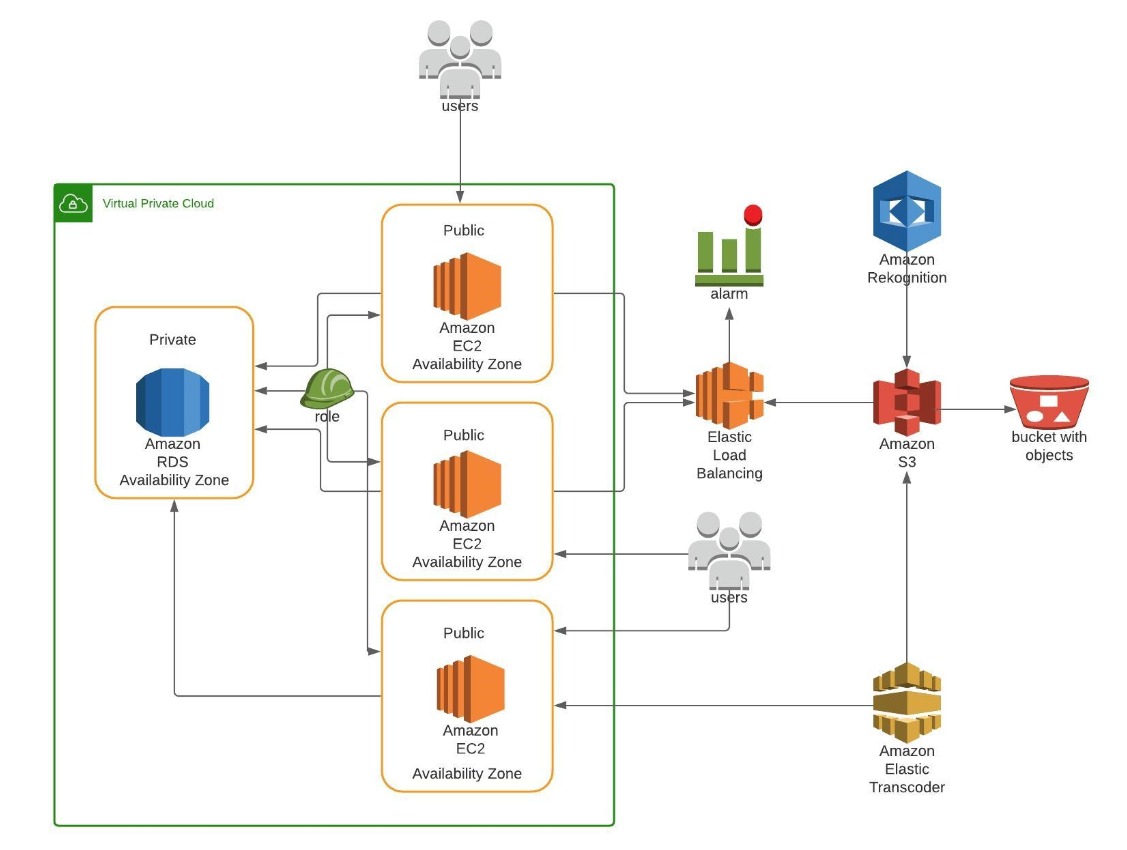
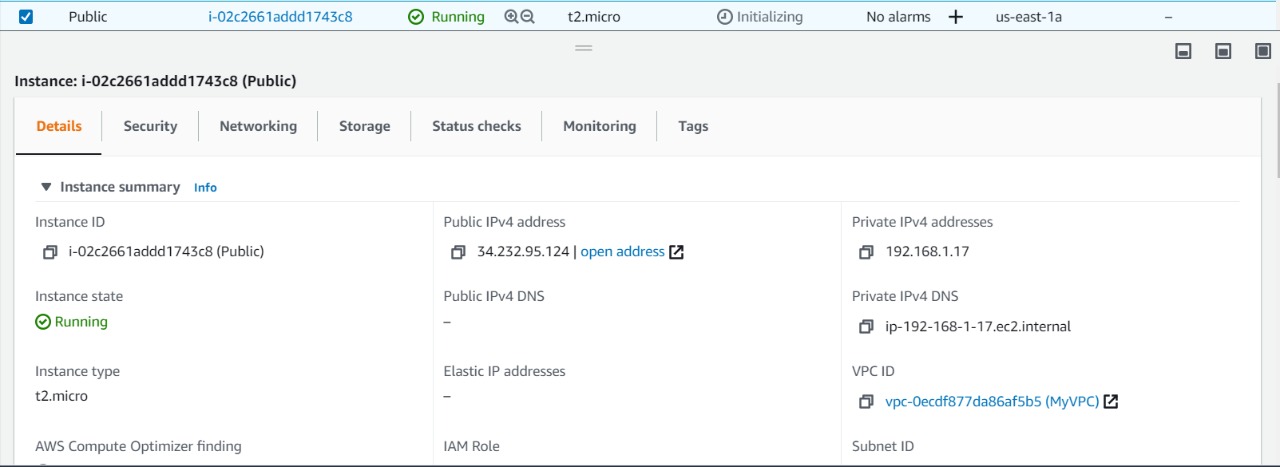
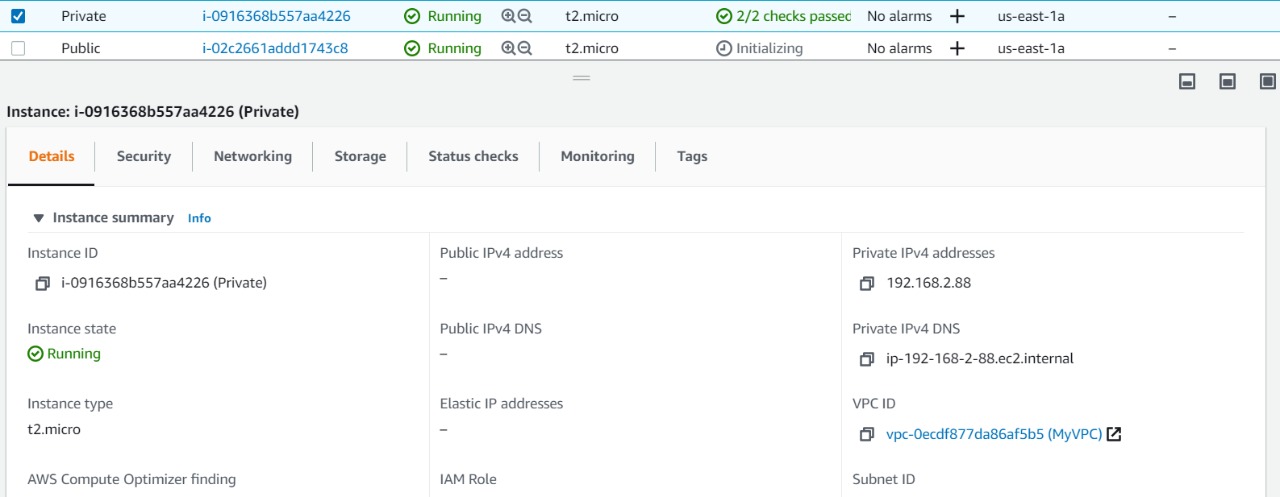
We have setup a VPC for the instances which are in the same range. The Public instance is having an internet connection and Private instance does not having an internet connection.
Inside Public instance we have S3 bucket endpoint to which users will have the access to upload/download images and videos. The EC2 instances have an ELB (Elastic Load Balancer) attached with an Alarm set to it.
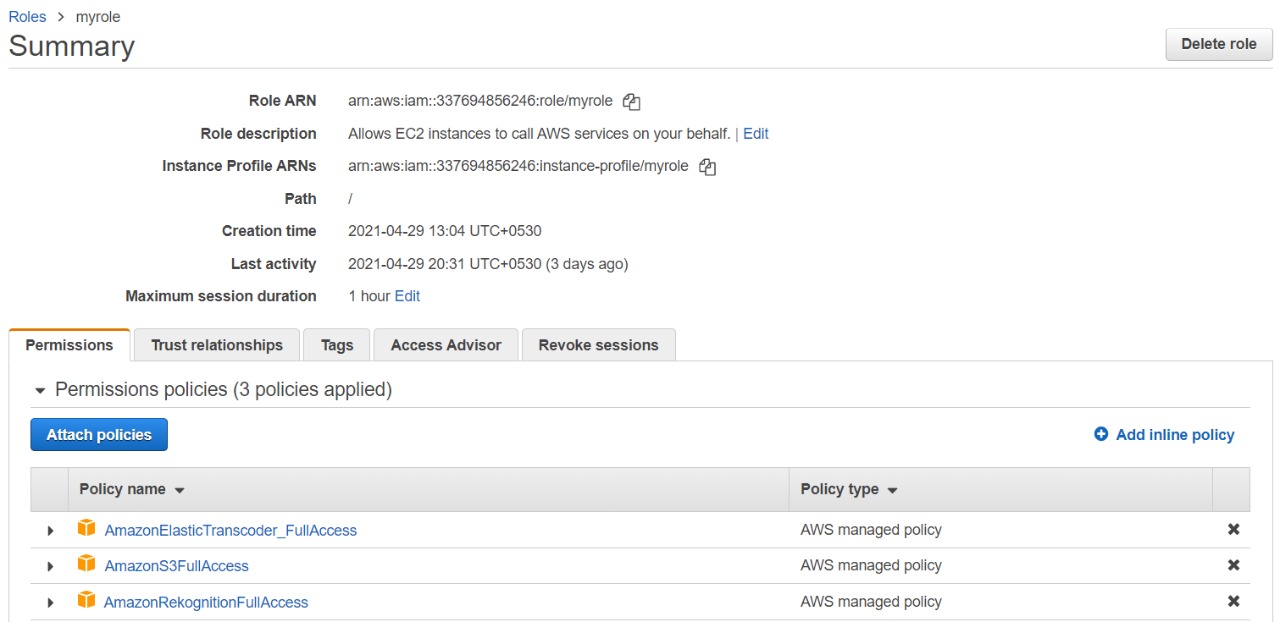
The EC2 instances will have IAM roles attached to it having roles set like AWSS3FullAccess, AWSRekognitionFullAccess and AWSElasticTranscoderFullAccess.
Steps:
Private instance will have NAT connectivity with Public instance which will open a browser with the endpoint given to the user to access S3 bucket uploads an image an request for image recognition.
The output of the image recognition will be stored in Amazon RDS.
If the user wants a video to be converted to the version which can be accessible via phone or pc can upload the video in S3 Bucket and by setting up a pipeline in AWS Transcoder the user will be notified about the process completion and the user can further request for image/video recognition.
The user having internet connection will access S3 Bucket with the endpoint provided and can further request for the AWS Rekognition. Procedure is same as above.
Configuration:
First step is to configure VPC:
1.1 Create VPC with the name MyVPC:
1.2 Create 3 Subnets with the name Public, Public1, Private:
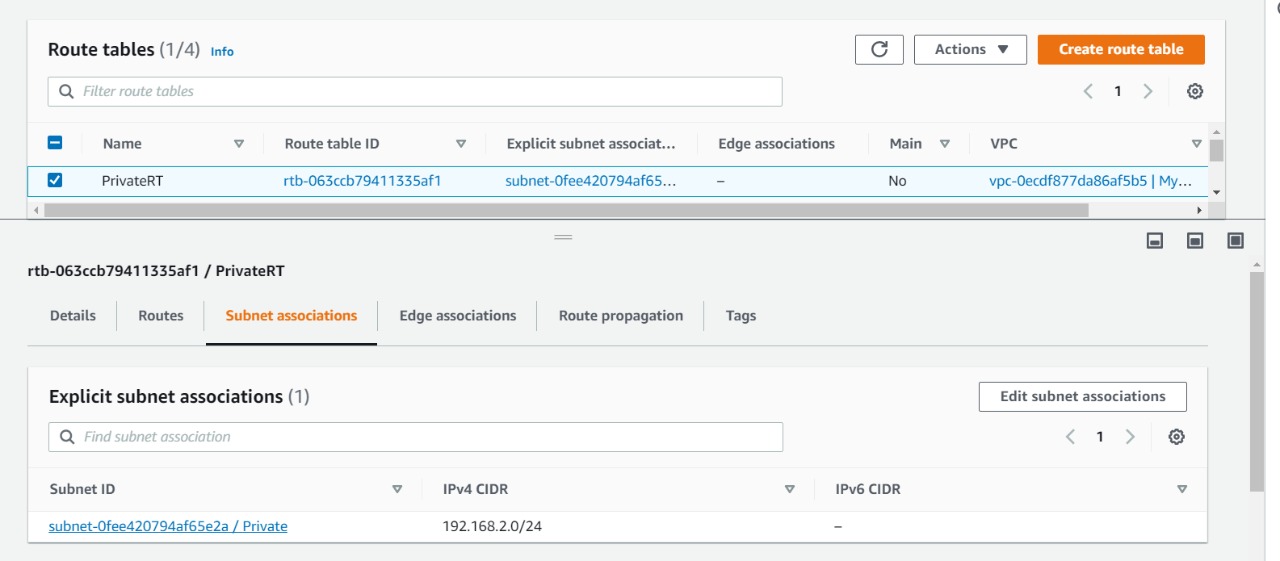
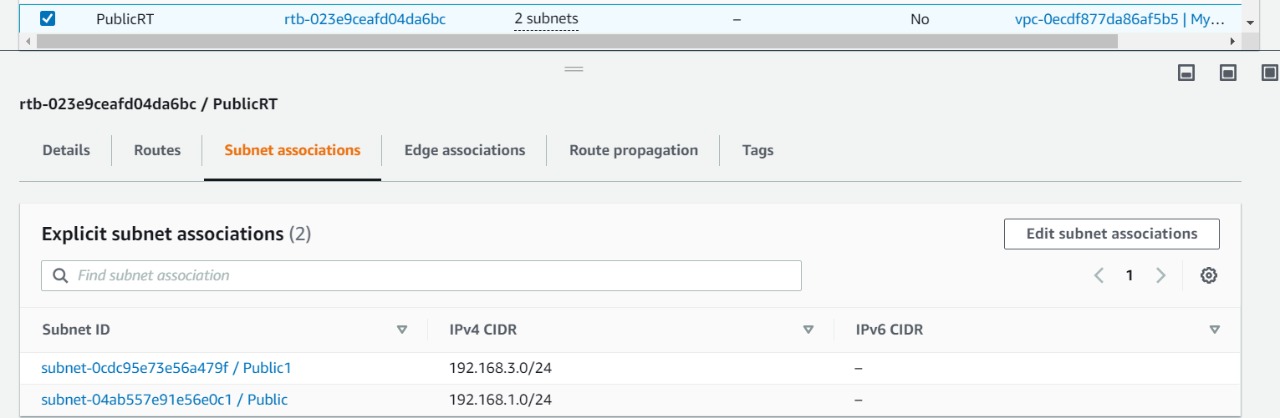
1.3 Create a separate Route table with names PublicRT and PrivateRT and place the subnets with the respective route table:
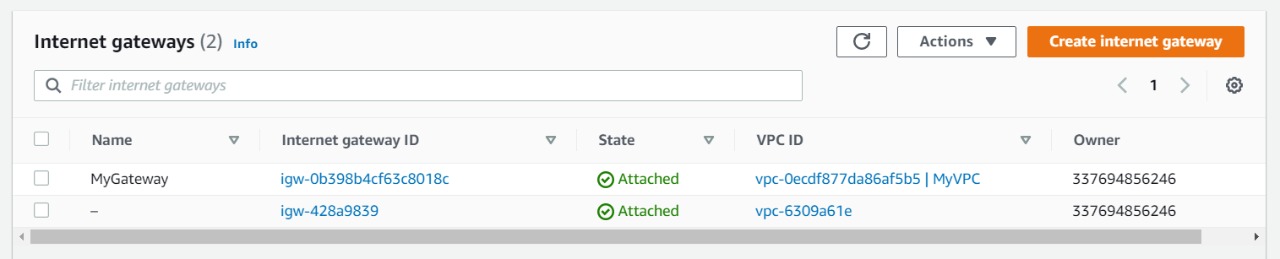
1.4 Create a Gateway with the name MyGateway:
Create three EC2 instances and attach them with MyVPC as given below :
Create IAM roles the instances:
3.1 Create IAM roles for Public Instance with respective policy as shown below:
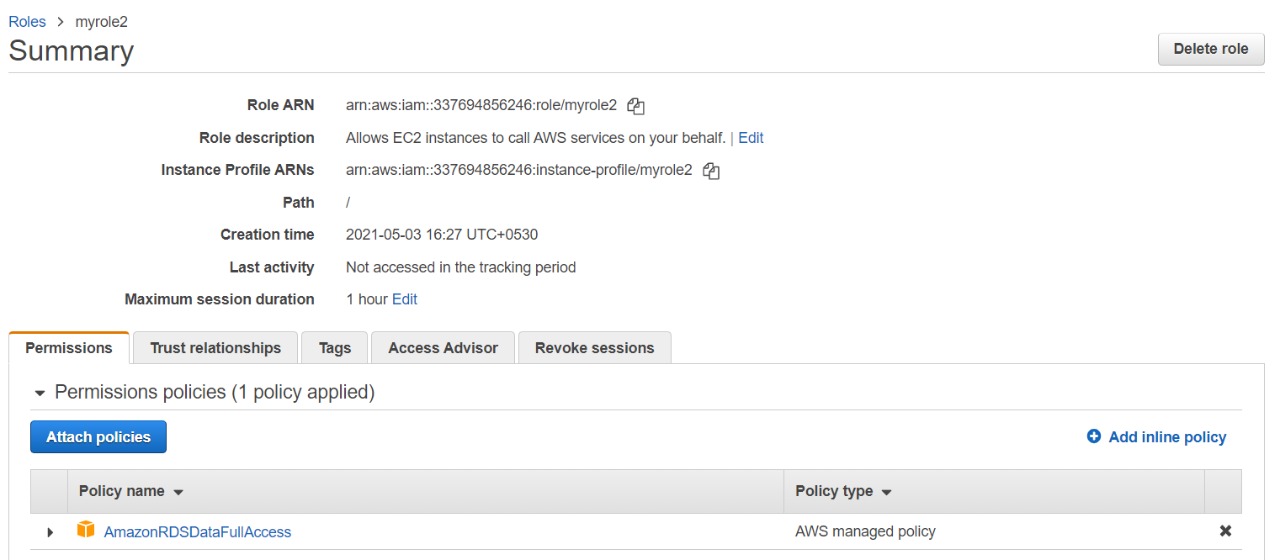
3.2 Create IAM role for Private instance which holds RDS policy (optional) :
Create S3 bucket as follows:
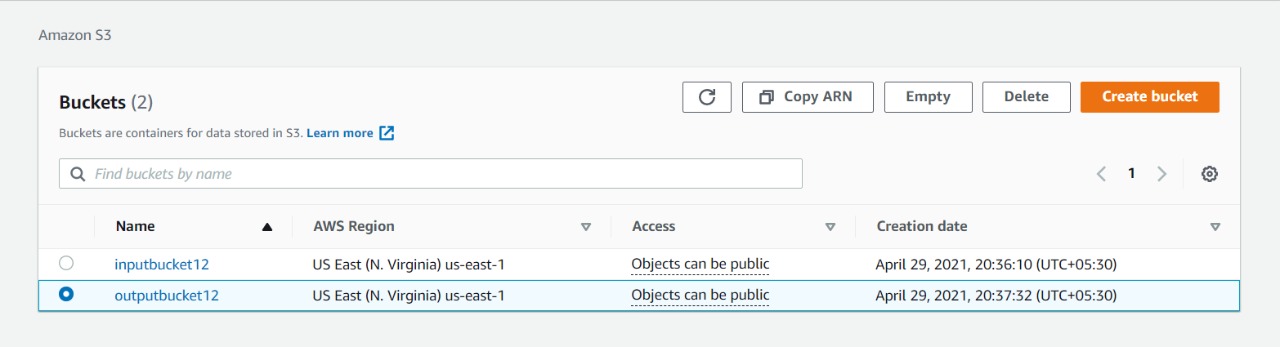
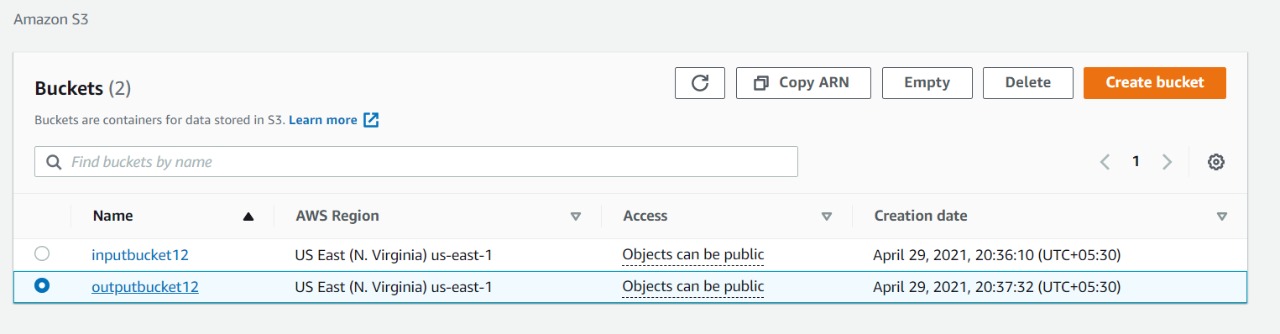
4.1 Create 2 buckets with the name inputbucket12 and outputbucket12:
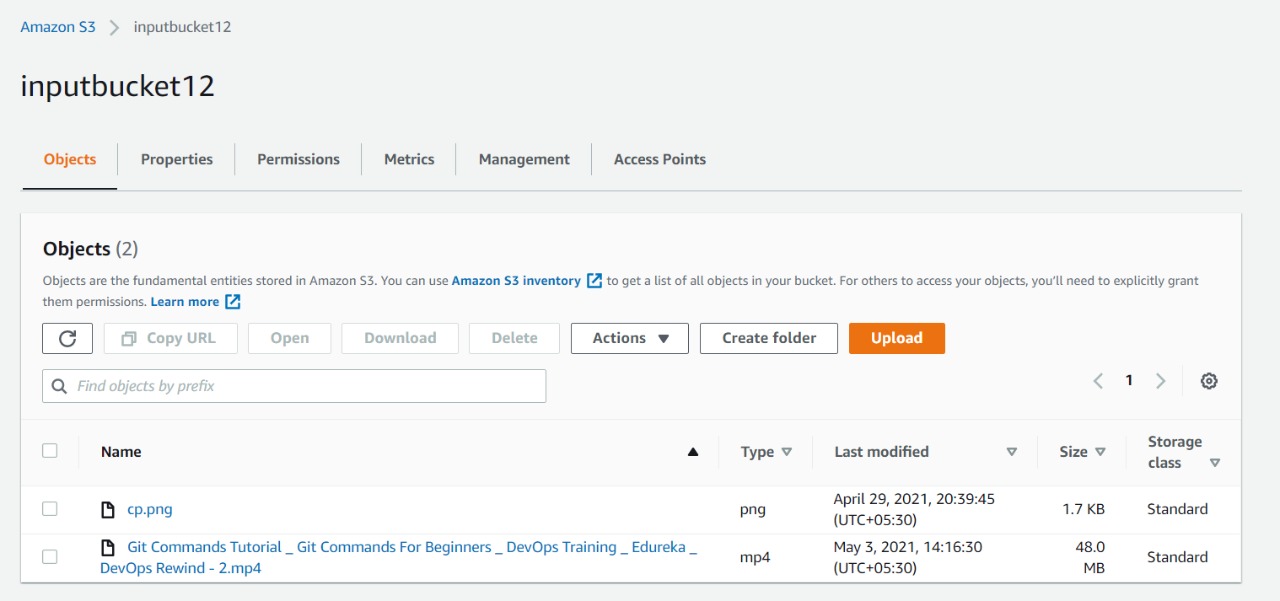
4.2 The inputbucket12 will be used to upload images and videos:
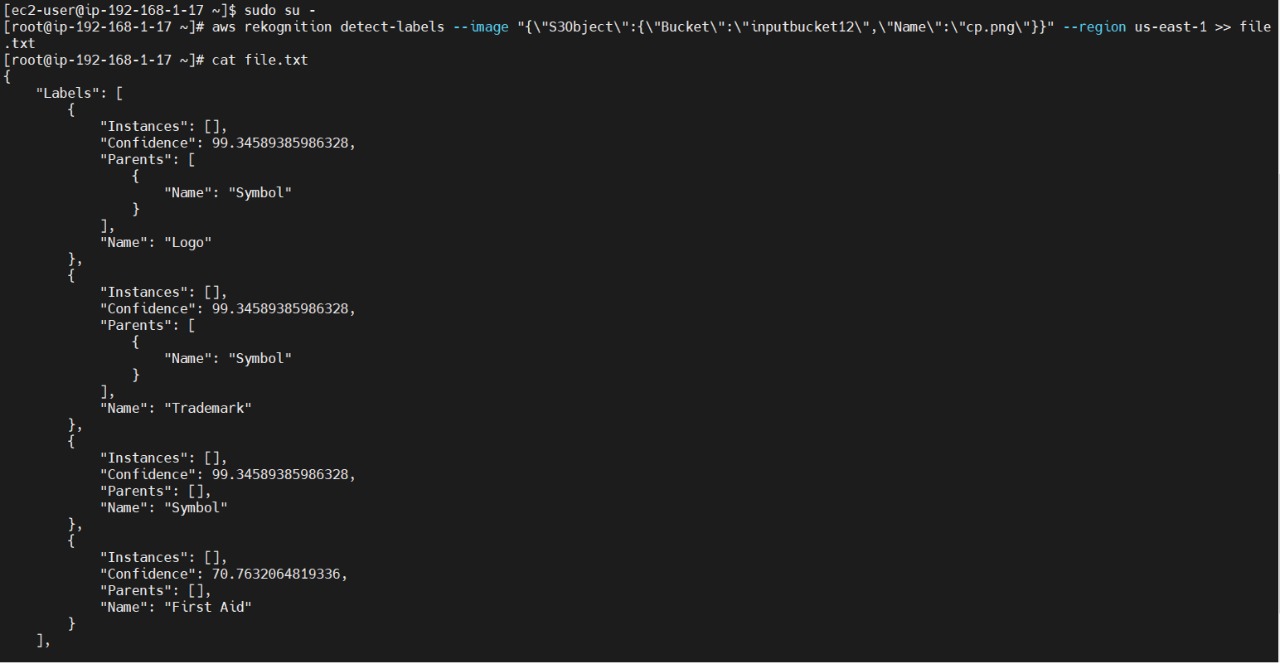
Setup for AWS Image Rekognition in Public instance using cli mode:
Setting up AWS Transcoder for video converter:
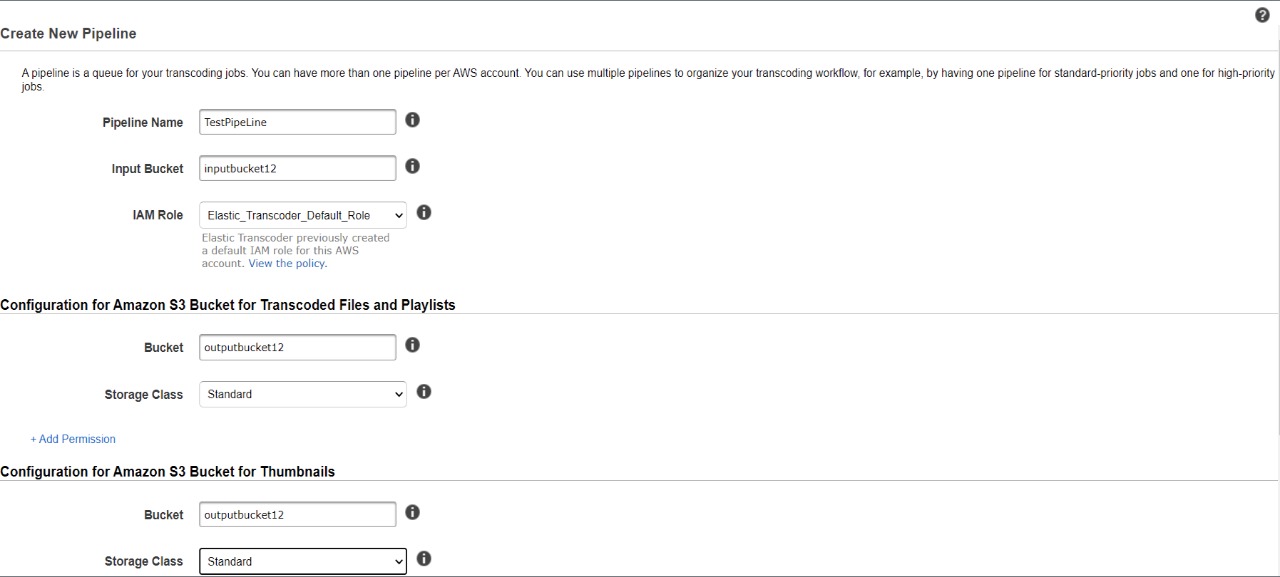
6.1 Create Pipeline as given below:
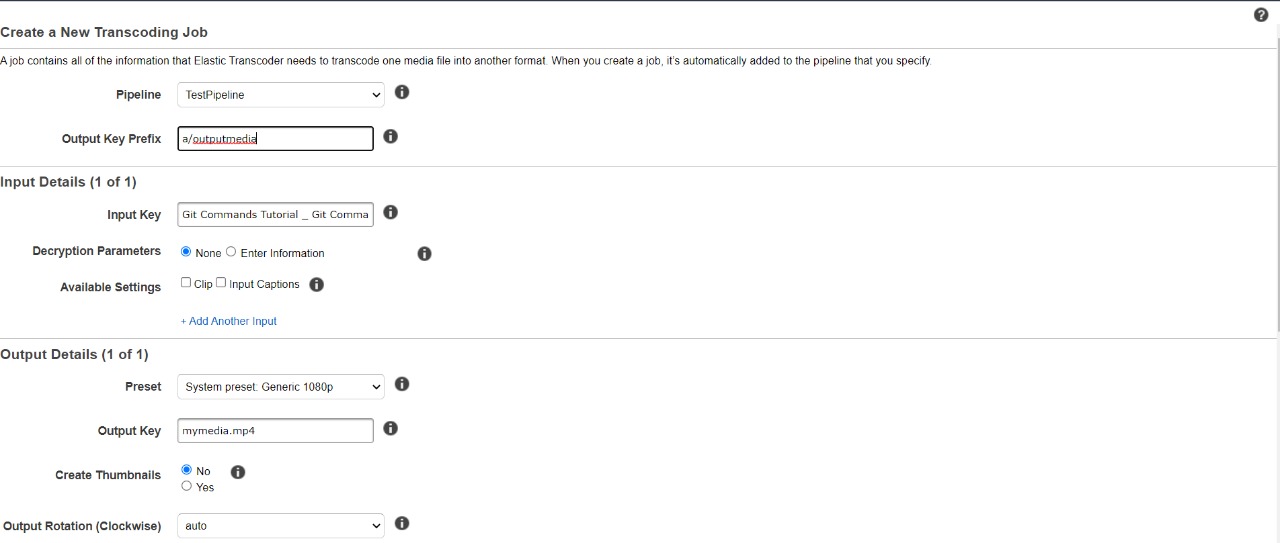
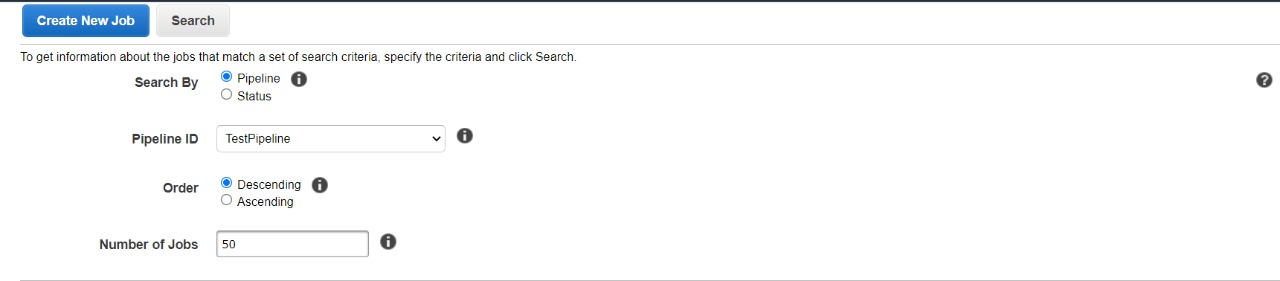
6.2 Create job for the Pipeline:
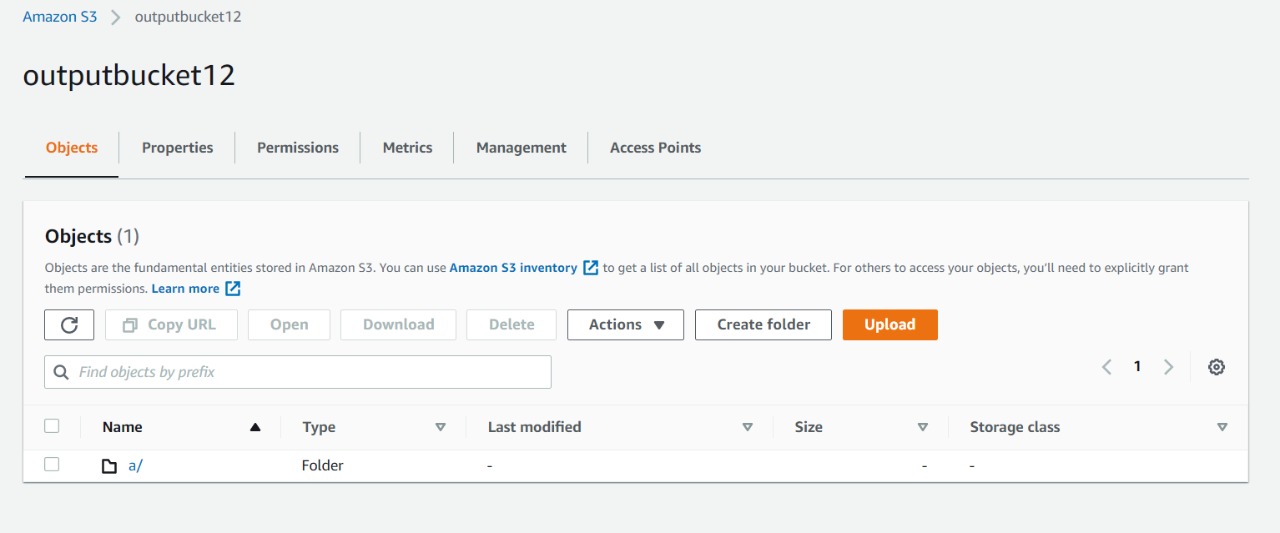
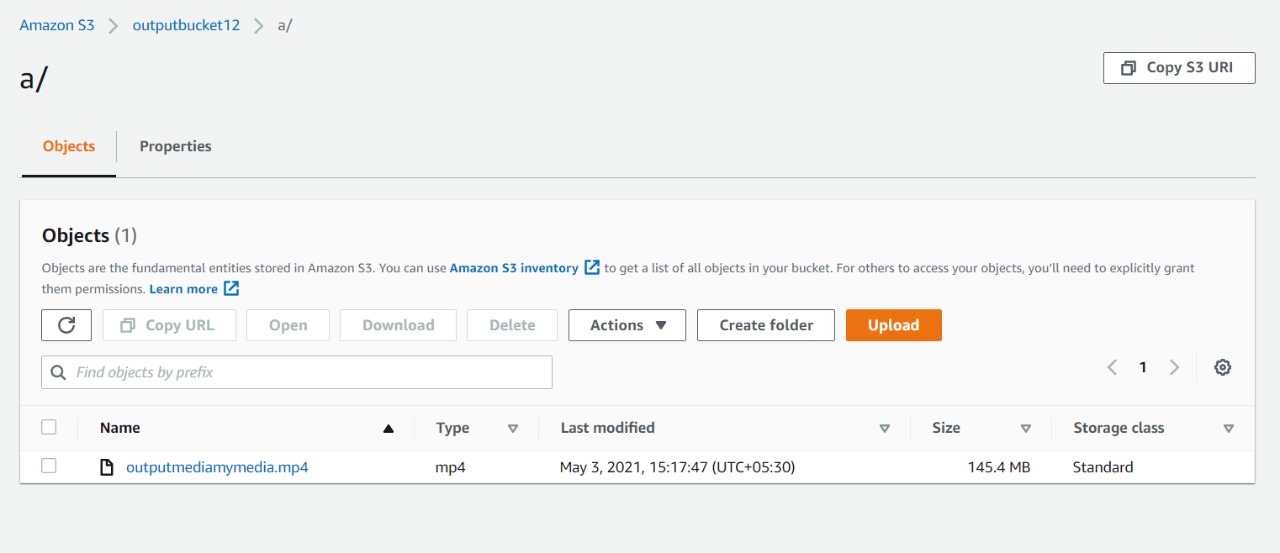
6.3 Output of the video will be shown in outputbucket12:
Shreya Dhange is a Technical Training Developer at Red Hat, who likes to explore and learn new technologies and share her knowledge by writing articles. She has completed her Masters in Computer Science and has gained award for her exemplary academic performance. She has been engaged in creating and delivering content in the cloud and linux space. She can be reached out LinkedIn or via email.